Last updated: 25 October 2026. We expanded this guide with definitions, a shot list by garment, the editing stages, a comparison with flat lay and on-model photos, and notes on AI tools and Amazon.
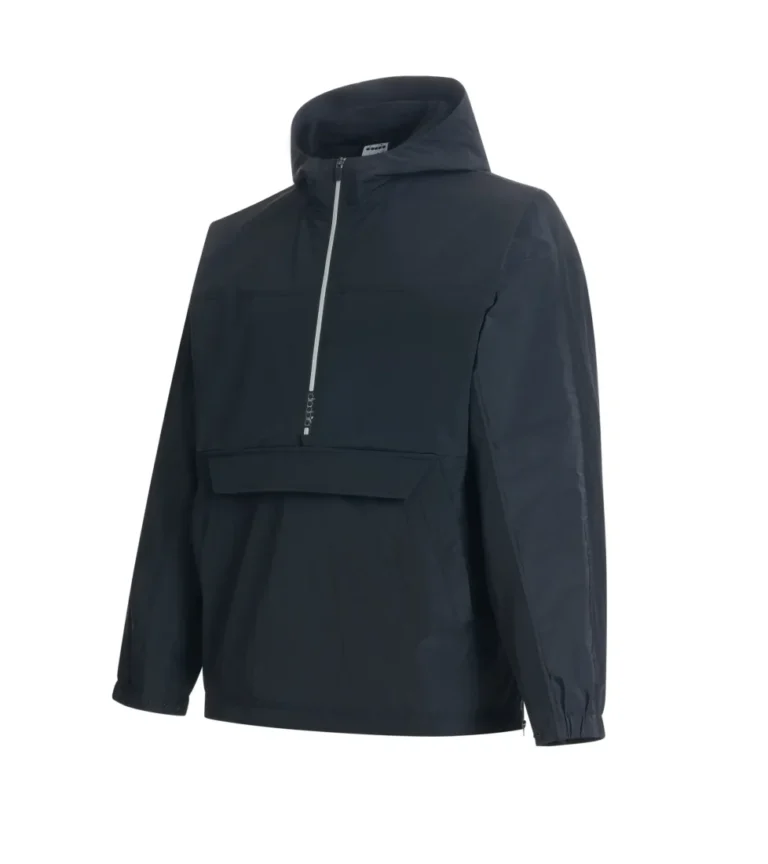
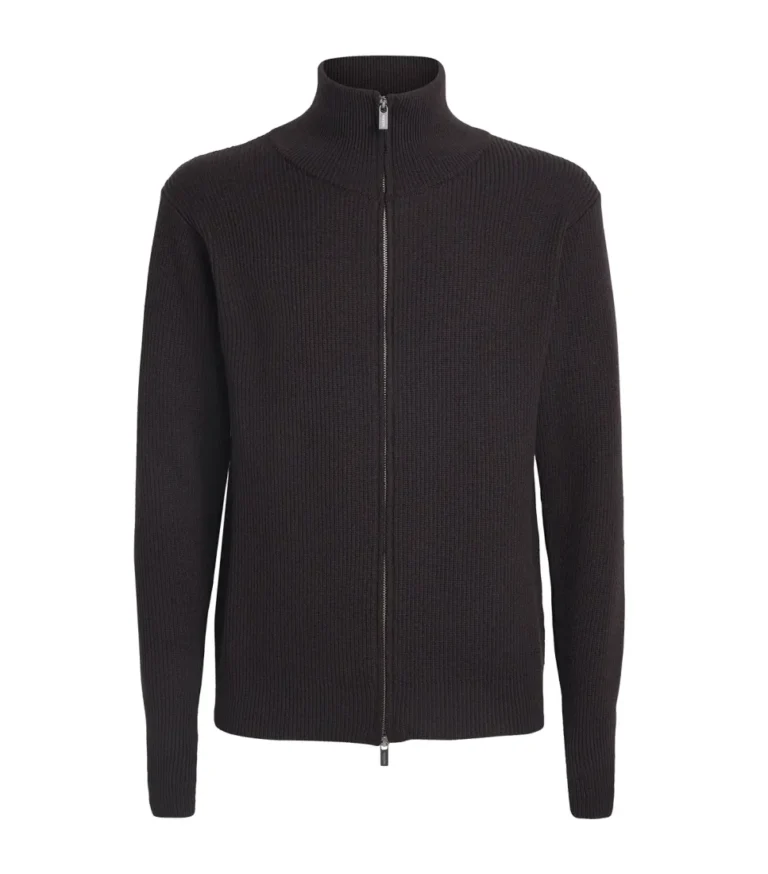
Quick answer: Ghost mannequin photography (also called invisible mannequin or “hollow man” photography) shows a garment as if it were worn by an invisible body. The garment is photographed on a mannequin, the inside of the neck and other hidden areas are photographed separately, and an editor removes the mannequin and blends those inside shots back in. The result shows the garment’s real shape and drape without a model.
What is ghost mannequin photography?
Ghost mannequin photography is a way of photographing clothing so it keeps its three-dimensional shape, but without a visible model or mannequin. It happens in two stages: the shoot, where the garment is photographed on a mannequin plus separate shots of the hidden inside areas, and the edit, where the mannequin is removed and those inside areas are composited back in.
| Term | What it means |
|---|---|
| Ghost mannequin / invisible mannequin | The finished effect: a garment that looks worn, with no body visible. “Hollow man” and “3D effect” mean the same thing. |
| Neck joint | The edit that fills the neck opening with a separate shot of the inside back of the garment, often including the label. |
| Sleeve joint | The same idea for sleeve openings, so cuffs and armholes show their inside rather than an empty gap. |
| Bottom joint | The same for the hem or waistband of tops, trousers and skirts, where the mannequin hid the inside. |
Why do brands use ghost mannequin images?
A ghost mannequin image shows how a garment actually hangs, which a flat lay cannot, and it does so without booking models, hair and make-up for every product. Because each garment is shot on the same form, at the same height and in the same light, a whole range lines up neatly in a category grid. The images also sit naturally on the white backgrounds many marketplaces require for main images.
Ghost mannequin vs flat lay vs on-model
Each image type has a job. Many brands use one as the main image and another for secondary images, so it helps to know the trade-offs.
| Ghost mannequin | Flat lay | On-model | |
|---|---|---|---|
| Shows shape and drape | Yes, in 3D | Limited: the garment lies flat | Yes, on a real body |
| Shows fit on a person | No | No | Yes |
| Shoot cost per garment | Moderate: mannequin and studio time | Lowest | Highest: models, styling, more shots |
| Editing effort | High: mannequin removal and joints | Low to moderate: shaping and cleanup | Moderate: skin, hair and garment cleanup |
| Consistency across a range | High | High | Varies with poses and models |
| Typical use | Main images for tops, jackets, dresses | Accessories, kids’ clothing, multipacks | Fit, styling and lifestyle images |
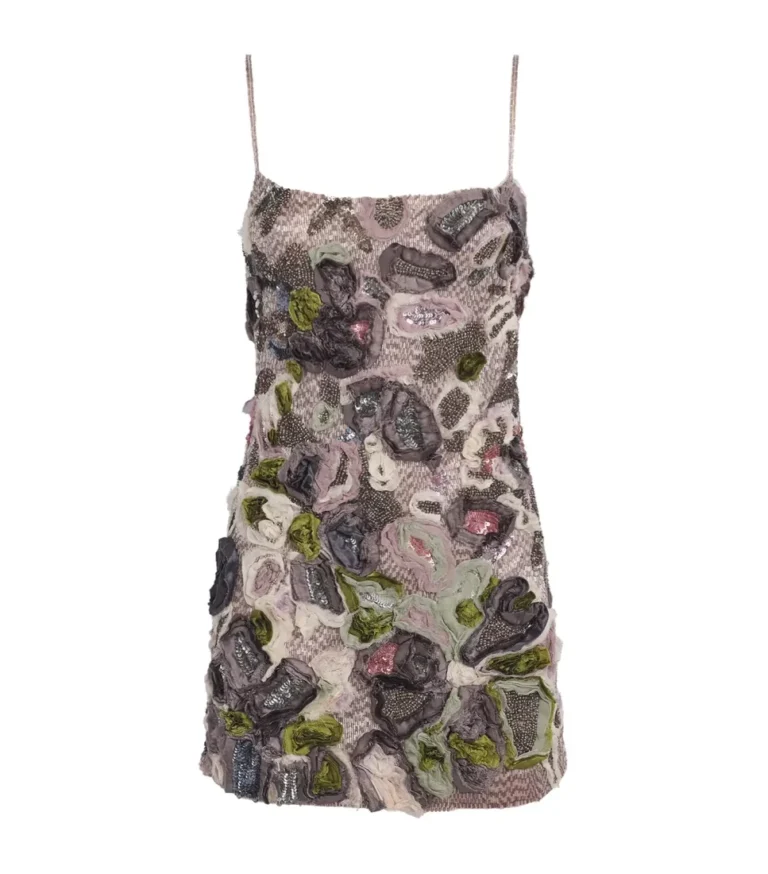 Product shot
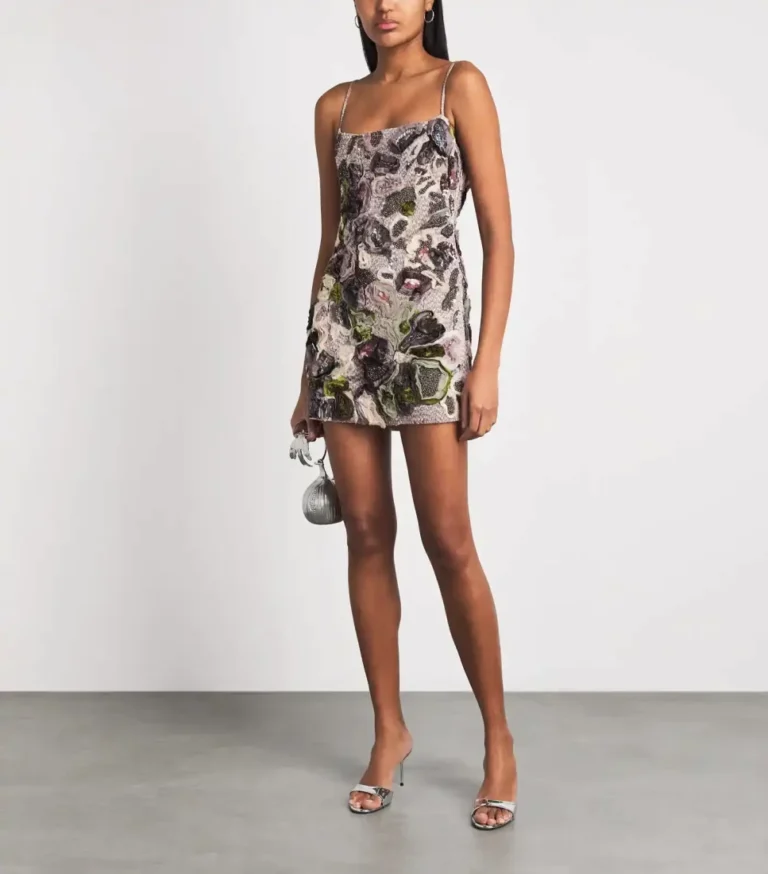 On-model
What you need
- A ghost mannequin with removable neck, chest and arm panels, so the inside of the garment can be photographed. A neutral, matte finish is easier to remove in editing than a glossy one.
- A tripod, locked in place for the whole set of shots for each garment.
- Consistent lighting: soft, even light that stays identical between the main shot and the inside shots.
- Steamer, pins and clips to remove creases and shape the garment without pulling it out of its natural drape.
- Tethered shooting (camera connected to a computer) is optional, but makes it easier to check alignment between frames.
How to shoot ghost mannequin photos
- Prepare the garment. Steam it, close zips and buttons the way you want them shown, and pin it lightly from behind so it sits naturally.
- Fix the camera and lights. Set the camera height and framing for the category and don’t touch them again until all of the garment’s shots are done.
- Shoot the main frame. Photograph the garment on the mannequin exactly as you want it to appear.
- Shoot the inside frames. Without moving the camera or changing the lighting, photograph the inside of the neck. Usually the garment is turned inside out or laid over the back of the mannequin. Make sure the inner label is visible if you want it in the final image.
- Add frames for other openings. Shoot sleeve, hem or waistband interiors where they will show (see the shot list below).
- Check before moving on. Confirm every frame is sharp, aligned and evenly lit before you take the garment off the mannequin.
Shot list by garment type
This is the shot list we typically ask clients for. Adjust it to your own style guide.
| Garment | Main frames | Extra frames for the edit |
|---|---|---|
| T-shirts and tops | Front, back | Inside back of the neck, with label |
| Shirts and jackets with collars | Front, back | Inside neck and collar stand; inside of the front opening if worn open |
| Hoodies | Front, back | Inside neck or hood lining, depending on how the hood is shown |
| Trousers and skirts | Front, back | Inside waistband (bottom joint) |
| Dresses | Front, back | Inside neckline and inside back |
| Sleeveless tops | Front, back | Armhole interiors where they show |

Common mistakes
- Moving the tripod between frames. This is the biggest one. The perspective no longer matches, so the neck joint looks wrong no matter how carefully it is edited.
- Lighting the inside frame differently. A brighter or warmer inside shot shows up as a visible patch in the finished image.
- Pinning too tightly. The garment loses its natural drape and looks stiff.
- Forgetting the label shot. If the inner label should appear, it has to be photographed; it can’t be invented accurately.
- Skipping the other openings. Sleeves and hems that show an empty gap need their own inside frames too.
How ghost mannequin editing works
Ghost mannequin editing is a composite: several photos of the same garment are combined into one. The work runs in these stages.
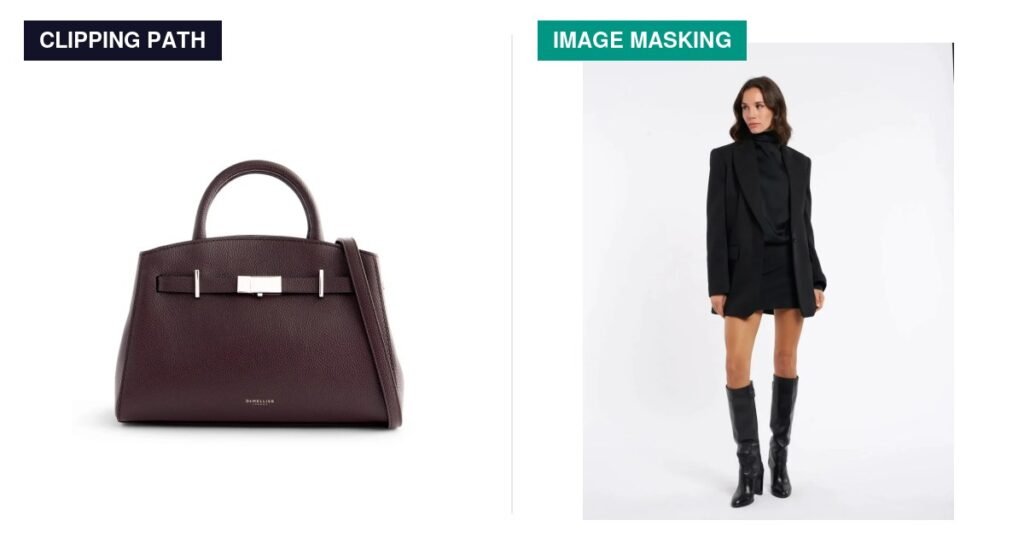
- Mannequin removal. The garment is cut out from the mannequin and background, with clean edges. Hard edges suit a clipping path, while fur trims and sheer fabric need masking; see clipping path vs image masking.
- Aligning the inside frame. The inside-neck shot is positioned, scaled and gently warped so its curve matches the opening.
- Blending the joints. The neck, sleeve and bottom joints are blended so the inside looks continuous with the outside.
- Adding depth. A soft inner shadow makes the openings read as three-dimensional rather than flat.
- Symmetry and cleanup. Sleeves, hems and collars are balanced; pins, lint and packing creases are removed while the fabric’s texture stays.
- Colour and background. Colour is matched to your reference and the background set to your spec, such as pure white for marketplace main images.
- Export. Files are saved in the formats and sizes each channel needs.
Some garments take longer than others: lined coats, complex collars, hoods, sheer or loosely knitted fabrics and garments with several openings all add work. That is why prices for ghost mannequin editing vary by garment; see our pricing for current rates.
Can AI create ghost mannequin images?
AI tools can now remove a mannequin and generate an interior in seconds, and for simple garments the result can be usable. They are less reliable where accuracy matters: an inner label the tool never saw, sheer or loosely knitted fabric, structured collars, linings and symmetry. Whatever tool is used, the final image must show the real garment accurately, so someone still needs to check every file.
At Retouch Marm we combine AI tools for speed with human retouchers for the joints, fabric detail and final quality check.
Ghost mannequin images on Amazon
Amazon’s Clothing & Accessories image style guide (dated March 2022) requires pure white (#FFFFFF) backgrounds for main images. It asks for off-figure flat shots for multipacks and for children’s underwear and swimwear, and sets image sizes of 1,000 to 3,900 px on the longest side. The guide does not mention mannequins or the ghost mannequin effect, so check the current rules for your category in Seller Central (Image guidelines for clothing, sign-in required) before you plan a shoot. For Amazon’s general image rules, see our Amazon image requirements checklist.
What to send your editor, and what you get back
Send: the main frame and all inside frames for each garment, named so they stay together (for example SKU_front.jpg and SKU_front_neck.jpg), your retouching style guide, and any notes on labels, colour or background.
Get back: we usually deliver a transparent PNG plus a white-background JPG at marketplace spec, so the same garment can go to your own store and to marketplaces without another round of editing.
Want to see the result on your own garments? Send one garment set (the main frame plus its inside frames) and we will edit it free. You can see more finished apparel work on our ghost mannequin and fashion retouching page and in our portfolio.
FAQ
Do I need a special mannequin?
It helps a lot. A ghost mannequin has removable panels at the neck, chest and arms, so you can photograph the inside of the garment and so less of the mannequin shows through openings.
Can ghost mannequin images be made from a flat lay?
Some AI tools try to, but a flat lay contains no information about the garment’s 3D shape, so the result is a reconstruction. For accurate shape, shoot the garment on a mannequin.
How long does ghost mannequin editing take?
It depends on the garment: a simple T-shirt with one neck joint is far quicker than a lined coat with a structured collar and several openings. Turnaround for a batch also depends on volume, so ask for a quote based on your actual garments.
Why does ghost mannequin editing cost more than background removal?
Background removal is one cut-out. Ghost mannequin editing combines several photos, rebuilds the inside of each opening and adds depth, so it takes more skilled time per image.
What if the inside shot wasn’t taken?
An editor can fill the neck with a generic interior, but it won’t show your real label or lining. Where accuracy matters, reshoot the inside frame.
Should hems and cuffs show the inside too?
Where the opening is visible, yes. That is what the sleeve and bottom joints are for, and they need their own inside frames.