Quick answer: A retouching style guide is a written specification that tells every editor how a finished product image must look. It sets the crop and margins, background value, shadow style, color targets, cleanup rules and output files, and shows approved and rejected examples. With one in place, image one and image five thousand look like they came from the same shoot.
If you sell more than a few hundred products online, you have probably seen the problem. One editor leaves a soft shadow and another removes it. One crops tight and another leaves room. Each image looks fine on its own, but the category page looks messy. A retouching style guide fixes this by writing the decisions down once.
This guide covers what to include, example values for each section, notes for six product categories, and a free Word template you can fill in today.
What is a retouching style guide?
A retouching style guide is the post-production half of your visual standards. A photography style guide tells the studio how to shoot: lighting, angles, styling. The retouching style guide tells editors what to do with those files afterwards, and exactly what the finished image must look like.
It is not the same as a retouching brief. A brief covers one job: this batch, these SKUs, this deadline. The style guide is the standing rulebook that every brief points to.
| Document | What it covers | How often it changes |
|---|---|---|
| Photography style guide | Lighting, camera angles, styling, props, shot list | When the brand look changes |
| Retouching style guide | Crop, background, shadows, color, cleanup rules, output files | When the look or a sales channel’s rules change |
| Retouching brief | One batch: SKUs, quantities, deadline, special notes | Every job |
Why eCommerce brands need one
- Consistency across editors. Verbal instructions do not survive a team of ten, an outside studio or a busy season. A written spec does.
- Fewer revision rounds. When “correct” is defined in advance, a rejected image is a clear miss against the spec, not a matter of taste.
- Faster onboarding. A new editor or retouching partner starts from the guide instead of learning your preferences one correction at a time.
- Channel compliance. Marketplaces and shopping platforms set their own image rules, and the guide is where you record them. For example, Google Merchant Center will require product images of at least 500 × 500 pixels from 31 January 2027 (Google). For Amazon, see our Amazon image requirements checklist.
- Accurate products. Customers judge color, texture and shape from photos. Writing down what must never change protects you from over-editing.
Color is where drift shows most across a large catalog. We cover that workflow in How to Keep Colour Consistent Across a 5,000-Image Catalogue.
What to include: 9 sections with example values
The example values below show the level of detail an editor needs. They are starting points, not rules: replace each one with your own decision.
| Section | What to specify | Example value |
|---|---|---|
| 1. Scope and channels | Product categories, image types, where images will be used | Apparel and footwear; main packshot plus 3 detail views; own store, Amazon, Google Shopping |
| 2. Crop and framing | Aspect ratio, canvas size, margins, alignment, angle, view order | 1:1, 2000 × 2000 px, equal margins of about 5%, shoes toe-left at a three-quarter view |
| 3. Background | Exact color value, edge quality, transparent files | Pure white RGB 255, 255, 255 for marketplace main images; #F5F5F5 for your own store |
| 4. Shadows and reflections | None, natural, drop shadow or reflection; strength and direction | Soft natural shadow under the product; one soft reflection for jewelry and watches |
| 5. Color | The color reference, white balance, color profile | Match the physical sample or the color checker shot; sRGB output |
| 6. Cleanup rules | What to always remove and what to never touch | Remove dust, lint, threads, pins and tags; keep fabric texture, leather grain and intended distressing |
| 7. Shape and symmetry | Ghost mannequin, straightening, limits on reshaping | Build the neck and inner back; even sleeves; never change real shape, size or fit |
| 8. Model retouching | Skin, hair, body (if models are used) | Remove temporary blemishes; keep skin texture; no body reshaping |
| 9. Output and delivery | Format, size, compression, file naming, folders, layered files | JPEG quality 85–90, under 1 MB; SKU_color_view_01.jpg; PSD with clipping path on request |
Crop and framing
Margins and alignment are what make a category grid look calm. Decide the canvas once per category and say where the product sits on it: centered, or standing on a fixed baseline for footwear and bags so items line up across a row. Say which way products face and the order of views, so the first image on every product page shows the same angle.
Background and edges
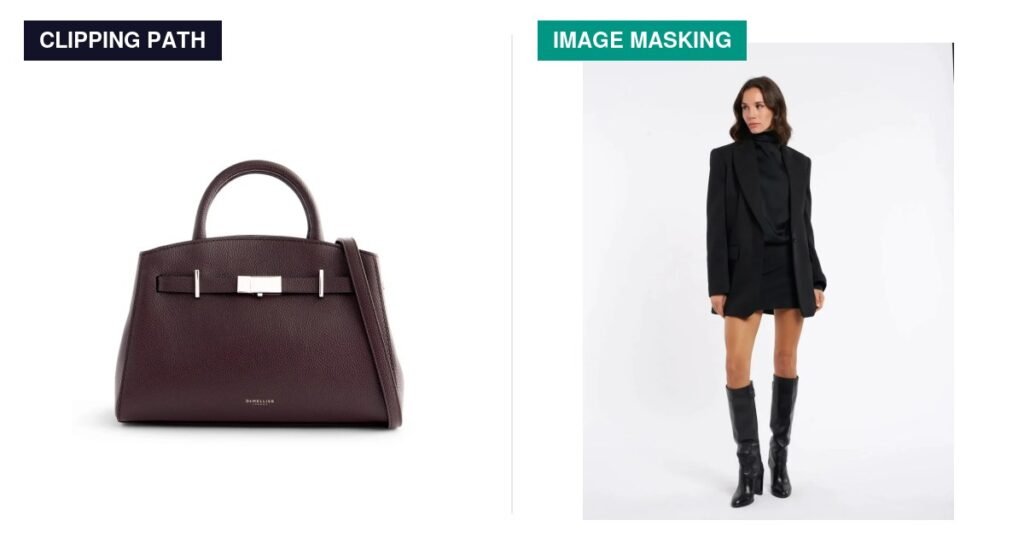
Give the background as a number, not a word. “White” can mean pure white or a soft off-white, and editors will choose differently. Many marketplaces want a pure white main image, while your own store may look better on a light grey. Record both and say which channel gets which. For soft edges such as hair, fur, lace or mesh, ask for masking rather than a hard path; our guide to clipping path vs image masking explains the difference.
Shadows and reflections
Shadows cause more inconsistency than almost anything else, because they are easy to add, remove or exaggerate. Pick one type per category and describe it: no shadow, the natural shadow from the shoot, a drop shadow added in post, or a reflection. Reflective items such as jewelry and watches usually look more natural with one soft reflection.
Color
Say what color is measured against. The most reliable references are the physical product and a color checker photographed at the start of each lighting setup. List color-critical SKUs, such as cosmetics, fabric and paint, that must be checked against the sample, and set sRGB as the output profile for web files.
Cleanup rules: what to remove and what to keep
The keep list matters as much as the remove list. Editors chasing a perfect-looking product can smooth away the very details customers pay for: suede nap, knit texture, natural wood grain, a deliberately distressed finish. Writing these down keeps the product honest and helps avoid “not as pictured” complaints.
Output, naming and delivery
Specify the file format, pixel size, compression, color profile and file name for every channel, and check each channel’s current minimums when you set sizes. Google Merchant Center’s new 500 × 500 minimum, for example, applies to both main and additional product images. A consistent naming pattern such as SKU_color_view_01.jpg lets files drop straight into your store. Descriptive names help search too: Google recommends short, descriptive file names and useful alt text for images (Google).
Notes for six product categories
Most style guides need a short section for each product category. These are the points editors most often need spelled out.
Apparel and ghost mannequin
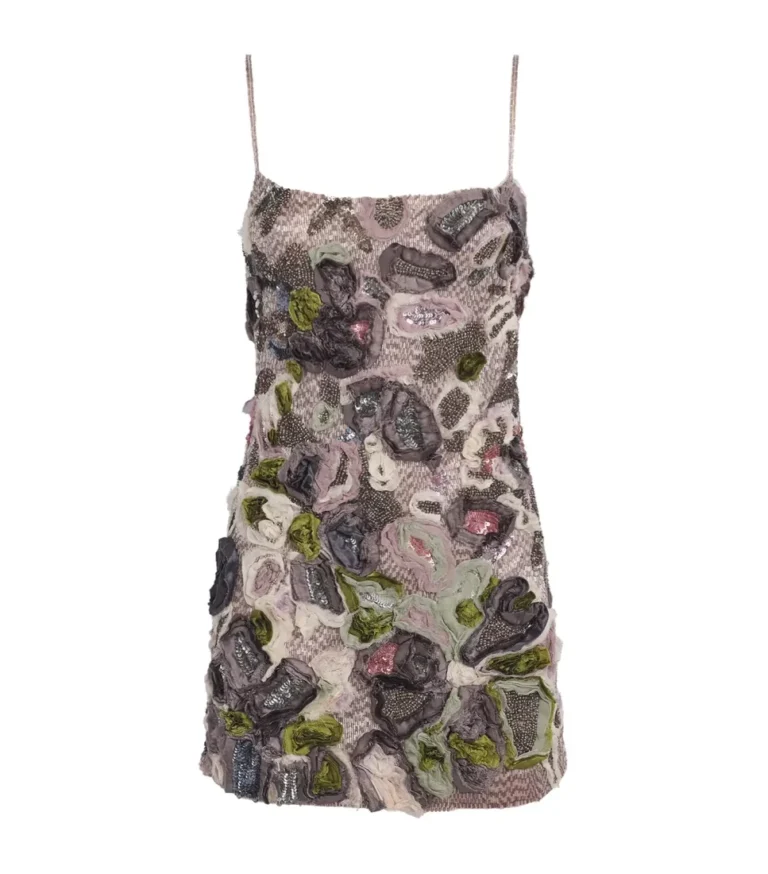
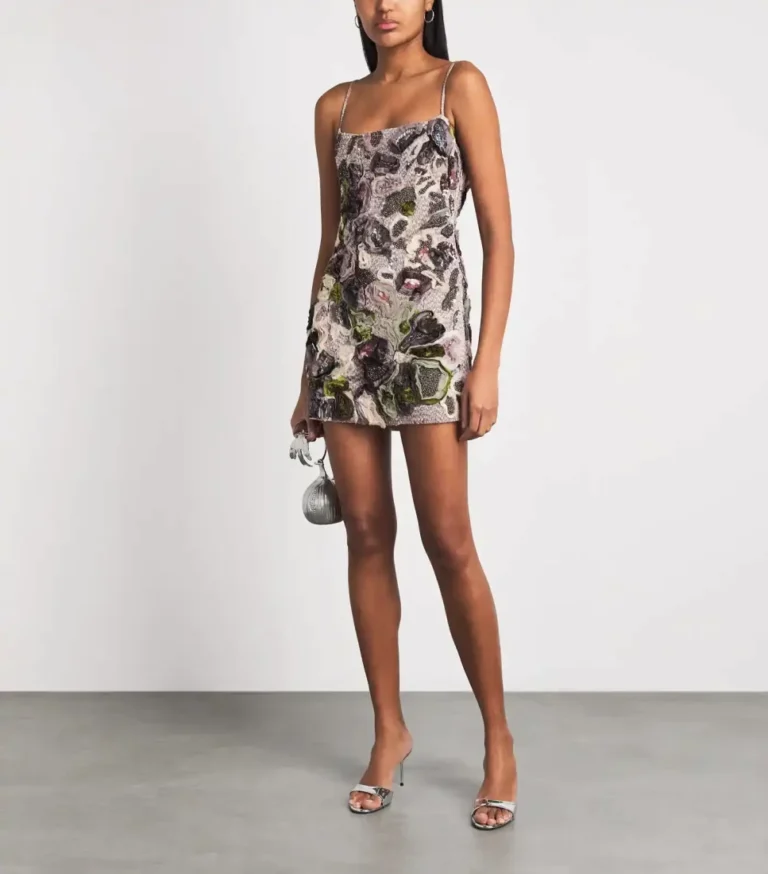
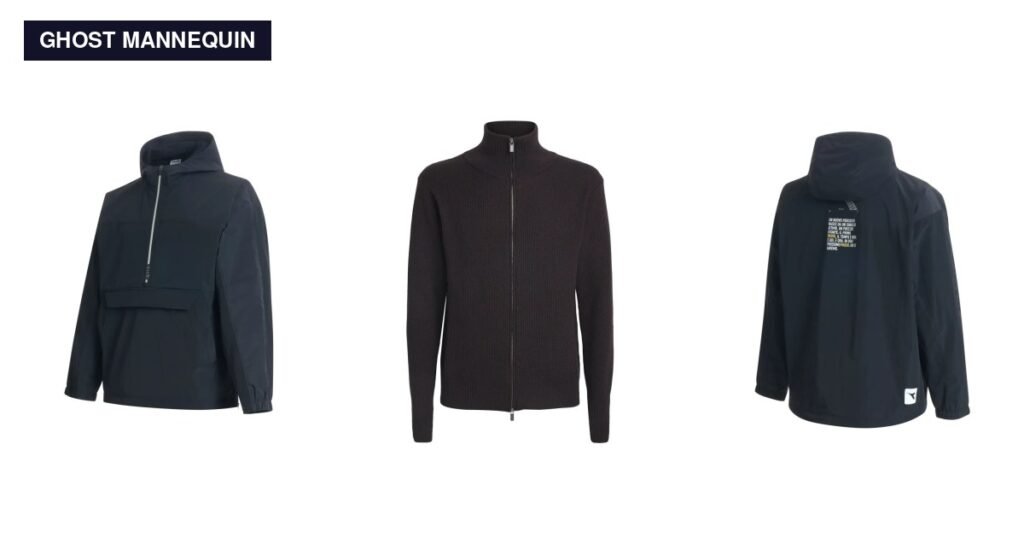
State whether garments are shot flat, on a ghost mannequin or on a model, and what each image type must look like. For ghost mannequin images, specify how the neck and inner back are built, how symmetrical sleeves and hems should be, and which creases stay. Our ghost mannequin guide covers the shoot side, and our fashion retouching service page shows the finished look.
Footwear
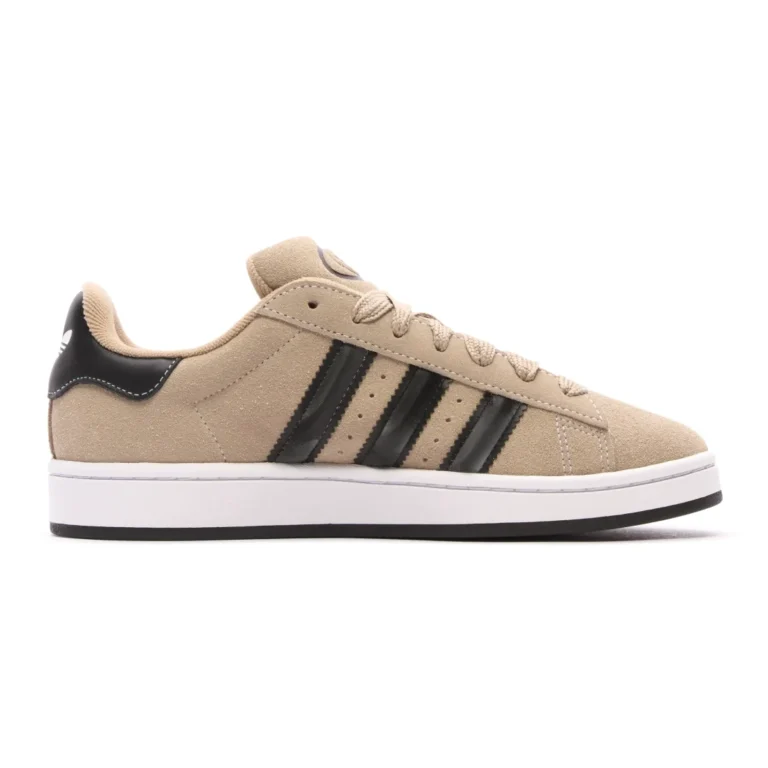
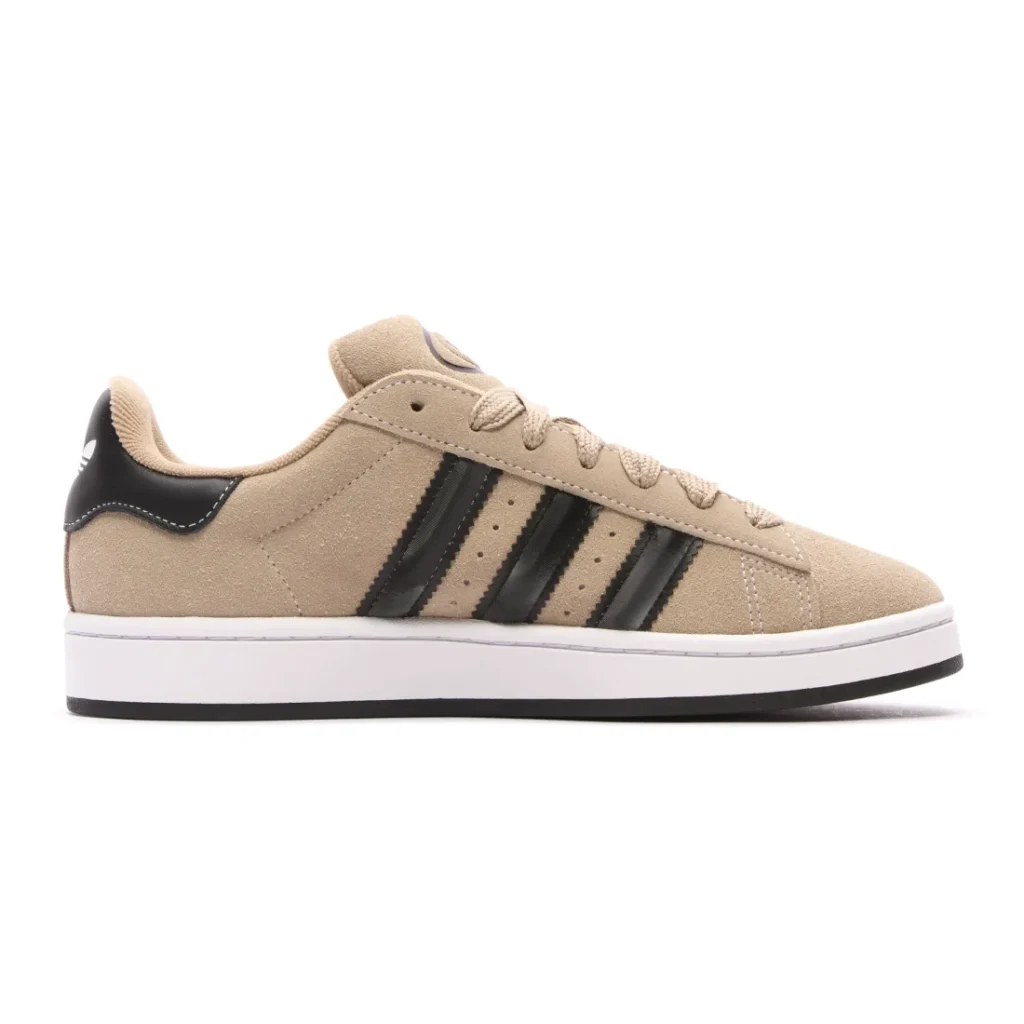
Define the hero angle (for example, the left shoe with the toe pointing left at three-quarter view), whether pairs or single shoes are shown, and the baseline the sole sits on. Say how far sole cleanup goes and which materials must keep their texture, such as suede nap. See examples on our footwear retouching page.
Bags and accessories
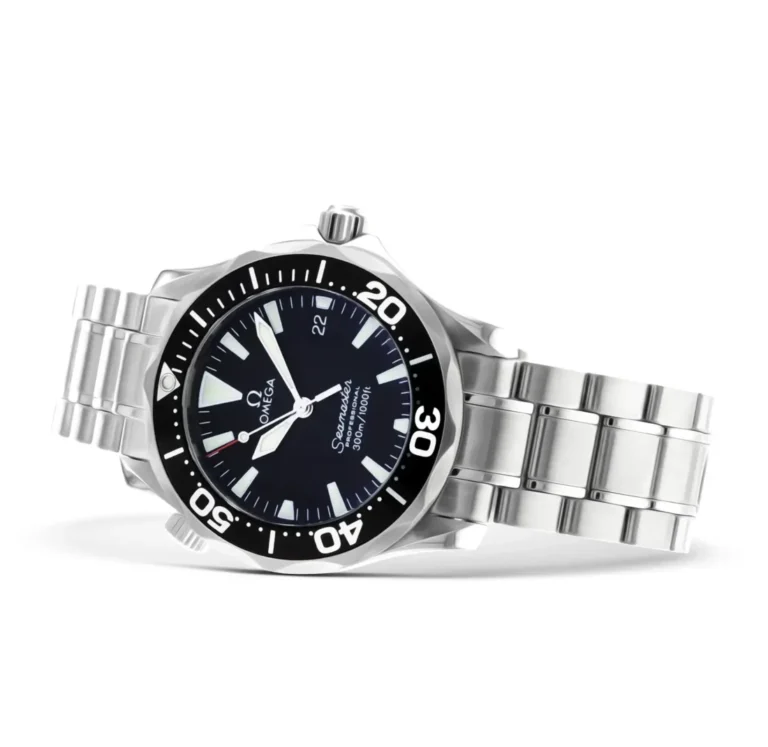
Accessories mix materials that behave differently: leather, metal hardware, glass and fabric. Specify how handles and straps are positioned, how much glare is removed from glass and polished metal, and whether logos and hardware must stay sharp and legible. More on our accessories retouching page.
Jewelry and watches
 Before
 After
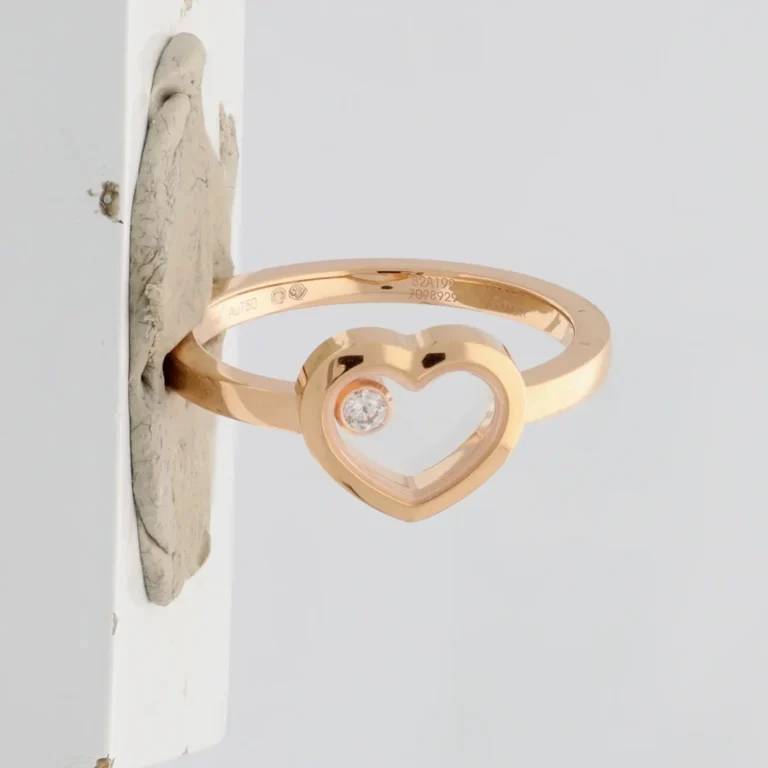
Jewelry is shot close up, so dust and scratches show at full size. Your guide should set the target tone for each metal (yellow, white and rose gold, silver, platinum), how much sparkle stones may have without looking artificial, and the reflection rule. See before-and-after pairs on our jewelry retouching page.
Furniture

Furniture rules focus on geometry: straight verticals, corrected perspective, a consistent camera height across a range, and the shadow under each piece. Note which materials must keep their grain or weave, and how fabric color variants are checked. See our furniture retouching page.
Cars
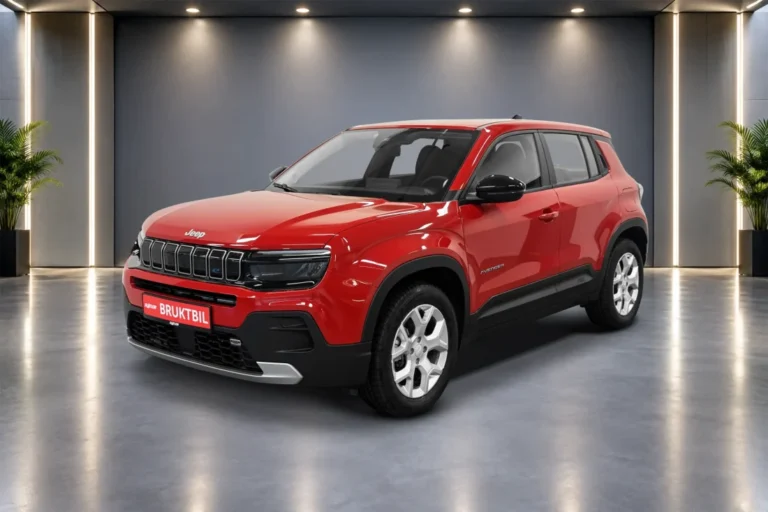
For vehicles, the guide usually sets one background template for the whole inventory, how reflections in paint and glass are handled, whether number plates are removed or covered, and the standard set of angles. See our car photo retouching page.
Show, don’t tell: approved and rejected examples
Editors follow pictures faster than paragraphs. For each category, add three to five approved images and a few rejected ones, with one line saying why. A before-and-after pair is the clearest way to show what “finished” means.
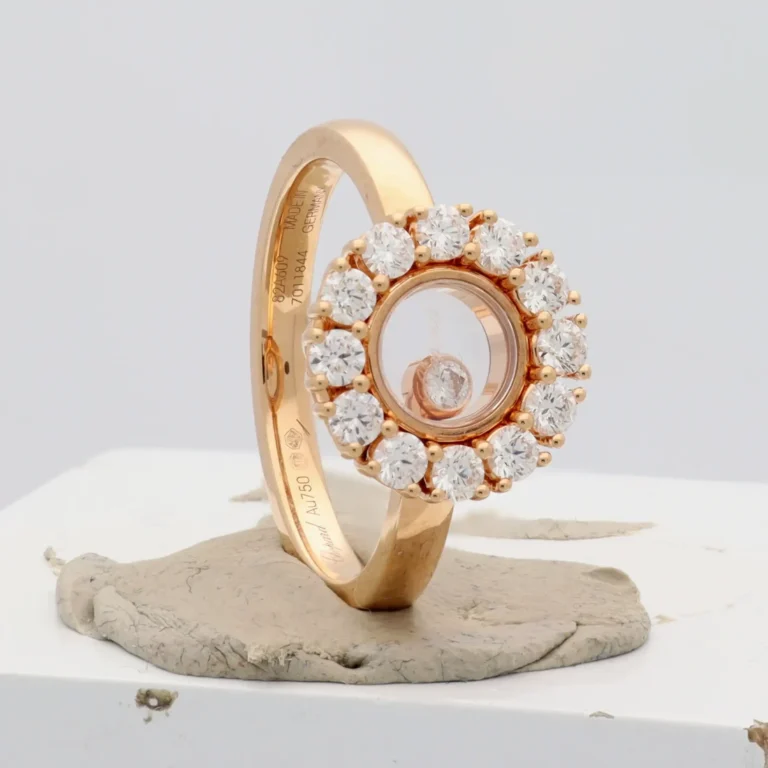 Before
 After
You can see more finished work in our portfolio.
How to write your style guide in 6 steps
- Collect your best existing images. Choose 10 to 20 finished images per category that show the look you want. They become your approved examples.
- Turn the look into numbers. Note what those images have in common: canvas, margins, background value, shadow type. Write each one down.
- List your channels and their rules. Record each marketplace’s and platform’s current image requirements, checked against the official help pages.
- Write the keep list. Decide which product details must never be retouched away.
- Test it on a small batch. Give the guide and 5 to 10 images to an editor, and nothing else. Every question they ask is a gap in the guide.
- Version it and give it an owner. Add a version number and date, keep a change log, and review the guide whenever your look or a channel’s rules change.
Free retouching style guide template
Our Word template includes every section above with an example column to replace, tables for category notes and for approved and rejected examples, a pre-delivery quality checklist and a version history.
Download the template (.docx, 12 KB)
No sign-up needed. It opens in Microsoft Word, Google Docs and LibreOffice.
Common mistakes to avoid
- Words instead of values. “Bright, clean, natural” means something different to every editor. Use numbers and example images.
- One rule set for every category. Jewelry and sofas need different rules. Keep shared rules at the top and category notes below.
- No keep list. Without one, texture and real detail get smoothed away.
- Out-of-date channel rules. Platform requirements change. Date your guide and recheck the official pages at every review.
- No owner. A guide nobody maintains drifts as fast as the images it was meant to protect.
FAQ
How long should a retouching style guide be?
Long enough to answer an editor’s questions without a call. For most brands that means two to six pages plus example images. Tables and pictures keep it short.
Do I need a separate guide for each product category?
Usually one guide is enough, with shared rules first and a short section per category. Separate guides make sense when categories are edited by different teams or go to very different channels.
Who should own the style guide?
One person on the brand or eCommerce team who approves images, usually the creative or eCommerce manager. Editors and studios can suggest changes, but one owner signs them off.
What should I send a retouching company?
The current style guide, a few approved example images, the brief for the batch (SKUs, quantity, deadline) and the raw files. With those four things, a good studio can match your look from the first batch.
How Retouch Marm works with your style guide
Send us your style guide and our editors follow it on every batch, across fashion, footwear, accessories, jewelry, car and furniture retouching. No guide yet? Start with the template above, or send us a test image and we will retouch it free so you can compare the result with your spec. For volume work, see our pricing or get a free quote.